
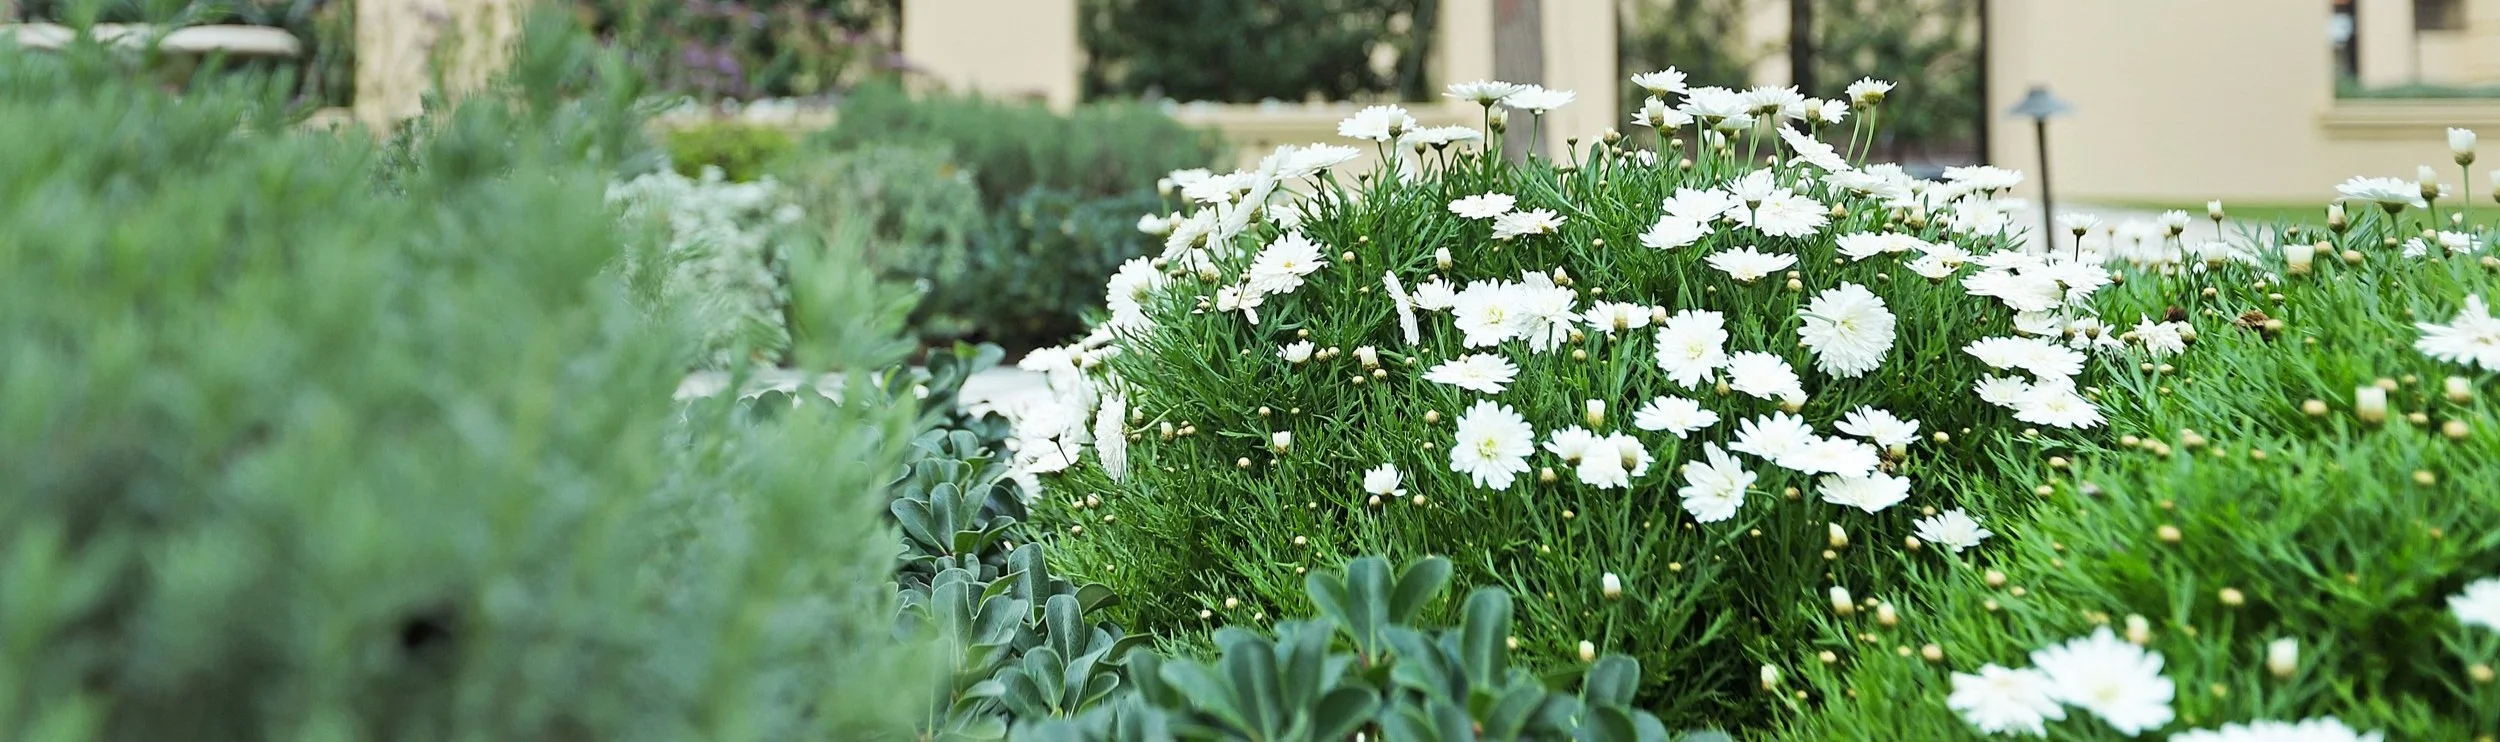
tips for a successful DIY garden installation IN PERTH
before you plant …
Before you put plants into the ground, there are a few things you can do to give them a long healthy life. If plants are happy and healthy, just like people, this will also reduce the maintenance you need to do.
Plants can cost a lot of money so it is a good idea to protect that investment with some planning and preparation, so that you dont have to do it all over again in a few years time.
The first step is to have a look at what conditions the plants will be growing in.
Do a quick site assessment
Before you plant, look at the environment where the plants will be growing. This will guide what you plant where and what you can do to give the plant a healthier, easier life.
Look at the soil, aspect, wind, and surrounding structures:
Soil?
What kind of soil do you have – sand, clay or loam (in between)Sun or Shade?
Will the plant be in full midday sun, morning sun, all day sun or shadeWind?
Will there be strong winds - this is especially important if you are close to the coast where the winds will be salty, or in a rural area where winds may be hotSalt or limestone?
Is there limestone near the plants – this will change the pH and some plants will love this and some will keel overNearby walls or paving?
If you have a solid wall or window on next to the plant, consider whether hot sun might reflect back onto the plants – if so, you will need a hardier selection in those spots. If a wall is on the northern side of the plant, then it will be in the shade for a large part of the year. Also consider heat reflections from swimming pools and concrete or stone paving.
What kind of soil do you have?
First take a handful of soil, spray some water on it and see what happens.
SANDY SOILS
If you squish it into a ball and the ball falls apart it is mostly sand (no matter what colour it is). Sand is easy to work with however will not tend to hold onto water or nutrients so adding lots of organic matter and also some dry clay will help improve it.
(Note that even if soil conditioner has been added in the past, this does break down over time so you may still be left with a mostly sandy soil)
CLAY SOILS
If it rolls into a sticky ball – the more sticky it is, the more clay content it has. This may dry hard like concrete in summer and make it difficult for roots to pass through. Adding lots of organic matter will help break it up and create air holes
LOAM
Loam will be crumbly, with good structure and should hold together if squished. Sometimes loamy soils repell water due to the oils in it so you will still need to add organic matter to fix this and to add nutrients. A small bit of dry clay can help with water repellence also.
outcome
The good news is, for each soil type, the treatment is the same! Add organic matter and if the soil isn’t holding water well, then add some dry clay.
Your aim is to create a soil that encourages lots of life such as earthworms and beneficial fungi to support plant growth.
Recommended products
There are many product offerings, but for now, the most simple answer is as follows:
Dry clay = bentonite clay (follow packet instructions and add when the soil is dry)
Organic matter = compost, soil conditioner, soil concentrate from a soil specialist

Irrigation
Ensure you have well designed reticulation. A well designed irrigation system will make an enormous difference to your plants health long term.
Ask your local irrigation centre or retic expert for advice and design the system paper before installing.
For spray systems, test how much water is going to your plants using catch cups.
Always water in the morning to reduce fungal issues and prevent leaf burn in summer
Water less often and deeply to encourage roots to grow deep, away from the hot surface.
TIPS for planting
Prepare the whole planting bed rather than just the planting holes. Roots go to where the food and water is and we want them to go broad and deep for a healthy plant. We also want food to be available to the roots as the plant matures.

Dig the planting hole at least double the size of the nursery pot and condition the backfill
Before planting, water the hole and allow it to drain
When removing the plant from its nursery pot, put it straight in the ground. Do not allow it to sit and surface roots dry out
Do not stamp down the soil around the new plant too much - you don’t want large pockets of air, but you do want micro pockets of air for the plant to breathe.
after planting
Mulch after planting to protect the soil life from heat and to retain water
In hot climates like we have in Western Australia, regular watering (daily) is required during the first summer while the roots are establishing
Add a seaweed solution every week or so to help support strong root growth
Slow release fertiliser can be added during the more moderate seasons - but is not needed immediately after planting as usually the potting mix that the plant came in will have some in it. Your soil preparation should have covered this at planting.